Search
Who is online?
In total there are 8 users online :: 0 Registered, 0 Hidden and 8 Guests :: 2 BotsNone
Most users ever online was 392 on Thu Oct 31, 2024 9:30 am
AC002-Altered Cookie tray ADVENT CALENDAR
2 posters
Page 1 of 1
 AC002-Altered Cookie tray ADVENT CALENDAR
Time for another altered project challenge! Thought I best post this one while the starter kits are still available if you need one!
Project inspired by PINK PAISLEE-Thanks
Have fun creating this!
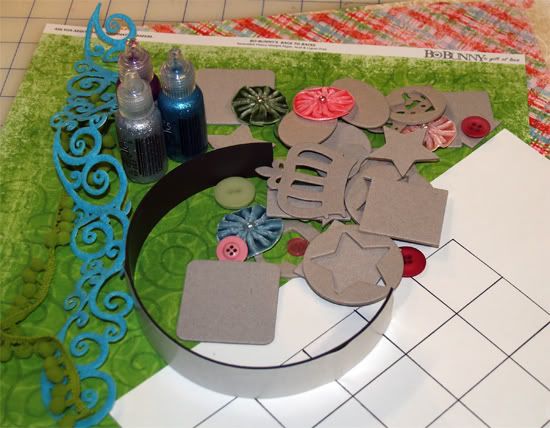
Gather Supplies
Scrapbook Heaven Starter Kit (We have a starter Kit for this project available in the store or-create your own)
KIT INCLUDES
Cookie Sheet
25 CHipboard, flowers or embellishments for each day
3 sheets of paper
2 stickles
pom pom trim
felt fusion
buttons
ribbons
AND/Or
White Spray paint (cheap is great)
3 patterned papers
1 plain cookie sheet (Teflon coated will not hold the magnets)
25 assorted embellishments
Flowers
Chipboards
Buttons
Title products of your choice
2 or more colors stickles
Dimensional gloss
At lease 12 “ magnetic tape
Punches
Assorted ribbons and trims
Wire for hanger (optional)
Stamps and ink or other form of creating numbers
Grid with 25 1 3/8 inch squares or larger
Adhesive
All supplies not shown in photo
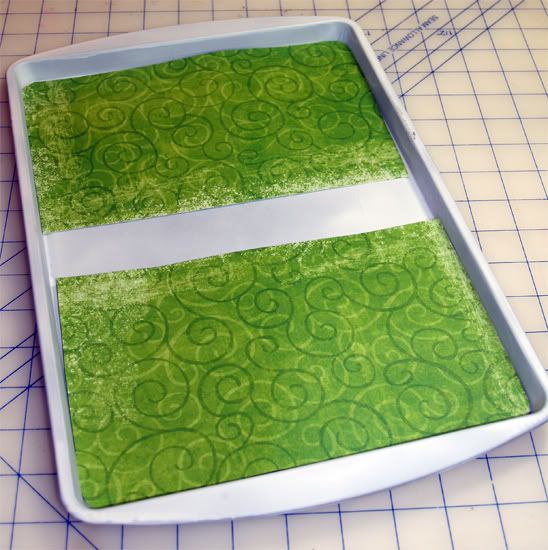
Paint a standard cookie tin with white spray paint (a Teflon covered one will not hold the magnets) Measure and cut one of the three patterned papers(paper #1) to fit as shown-Adhere in place.
Adhere paper #2 as shown

The grid is to be 25 squares-Mine are 1 3/8” squares! Attach as shown

To embellish and make my calendar more personal I used a 1” punch and punched out circles.
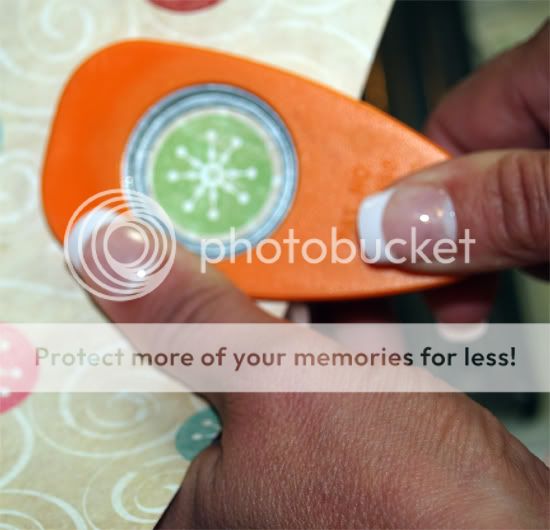
Next cut the circles in half and adhere to the sheet as shown!
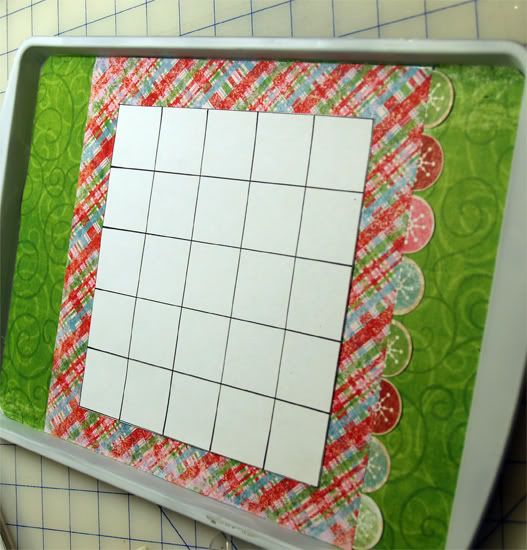
While sheet is drying gather adhesive, chipboard, paper, stickles, and glossy dimensional product. Begin working on the chipboard pieces to allow enough time for them to dry thoroughly.
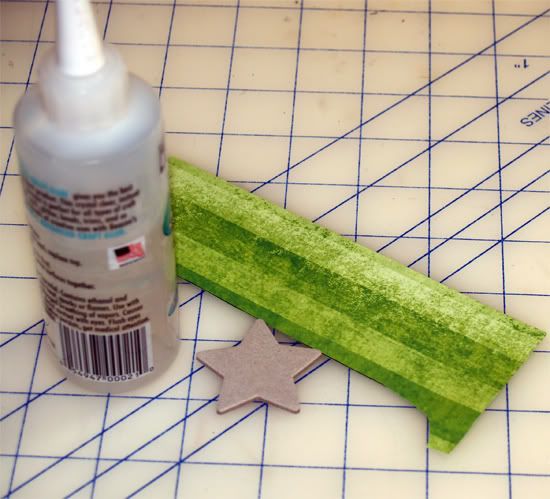
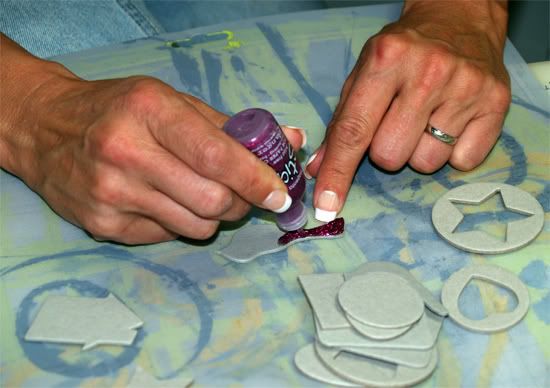
Cover chipboard pieces with patterned paper if desired and begin adding stickles (use circular motion to cover smoothly)
Use magnets attached to the back of each piece to adhere them to the cookie sheet!
Add numbers 1 thru 25 to each piece I used stamps, consider stickers, rubons and anything else you can think of! Add Dimensional product to a few pieces for high luster!
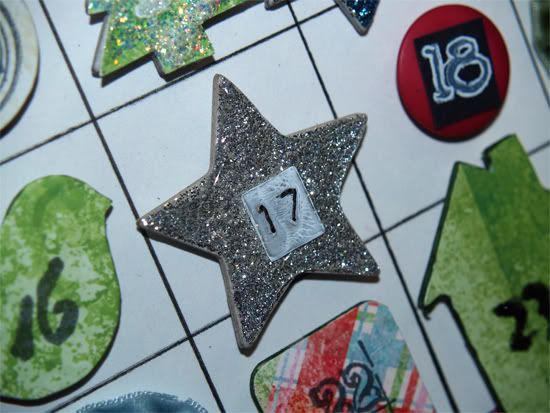
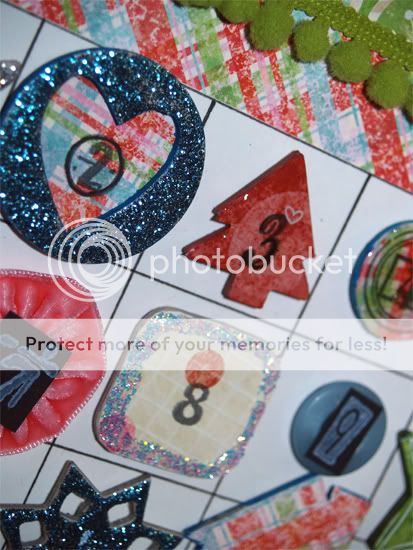
Cut Title or use premade chipboards to title your calendar as you like! Add embellishments, and customize your calendar.
Add holes and wire , if desired to hang. Complete with ribbon scraps and hang to COUNT DOWN CHRISTMAS.
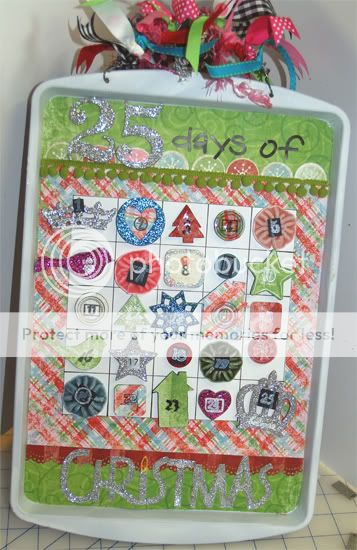

Project inspired by PINK PAISLEE-Thanks
Have fun creating this!
Gather Supplies
Scrapbook Heaven Starter Kit (We have a starter Kit for this project available in the store or-create your own)
KIT INCLUDES
Cookie Sheet
25 CHipboard, flowers or embellishments for each day
3 sheets of paper
2 stickles
pom pom trim
felt fusion
buttons
ribbons
AND/Or
White Spray paint (cheap is great)
3 patterned papers
1 plain cookie sheet (Teflon coated will not hold the magnets)
25 assorted embellishments
Flowers
Chipboards
Buttons
Title products of your choice
2 or more colors stickles
Dimensional gloss
At lease 12 “ magnetic tape
Punches
Assorted ribbons and trims
Wire for hanger (optional)
Stamps and ink or other form of creating numbers
Grid with 25 1 3/8 inch squares or larger
Adhesive
All supplies not shown in photo

Paint a standard cookie tin with white spray paint (a Teflon covered one will not hold the magnets) Measure and cut one of the three patterned papers(paper #1) to fit as shown-Adhere in place.

Adhere paper #2 as shown

The grid is to be 25 squares-Mine are 1 3/8” squares! Attach as shown

To embellish and make my calendar more personal I used a 1” punch and punched out circles.

Next cut the circles in half and adhere to the sheet as shown!

While sheet is drying gather adhesive, chipboard, paper, stickles, and glossy dimensional product. Begin working on the chipboard pieces to allow enough time for them to dry thoroughly.

Cover chipboard pieces with patterned paper if desired and begin adding stickles (use circular motion to cover smoothly)

Use magnets attached to the back of each piece to adhere them to the cookie sheet!
Add numbers 1 thru 25 to each piece I used stamps, consider stickers, rubons and anything else you can think of! Add Dimensional product to a few pieces for high luster!


Cut Title or use premade chipboards to title your calendar as you like! Add embellishments, and customize your calendar.
Add holes and wire , if desired to hang. Complete with ribbon scraps and hang to COUNT DOWN CHRISTMAS.


 Re: AC002-Altered Cookie tray ADVENT CALENDAR
This is cool!!!
Im planning on doing a countdown to christmas calender.
Im planning on doing a countdown to christmas calender.
 Re: AC002-Altered Cookie tray ADVENT CALENDAR
LOVE that no matter what year....I can use this over and over! Please post yours when complete!
 Similar topics
» Altered Art?
» Fun Altered Halloween Project
» Altered Challenge AC001
» Altered Tin-Create a Storybox
» Robin's January Reveal ~ Altered Journal
» Fun Altered Halloween Project
» Altered Challenge AC001
» Altered Tin-Create a Storybox
» Robin's January Reveal ~ Altered Journal
Page 1 of 1
Permissions in this forum:
You cannot reply to topics in this forum
